.png?fit=max&auto=format&n=J3TfNmZhqEoKcaaO&q=85&s=468b5adb026aa33181cc81ab54ab68db)
Open Create AI Image
Access the image generation feature:
- From the main menu: Navigate to the Image mini-app from your dashboard
- From chat: Open the chat interface and select the image category
- From templates: Choose an image template from the template gallery
Choose a model (or keep default)
Runable supports multiple AI image generation models, each with unique capabilities.Select the right Model
Describe the image (recommended to build a full prompt with our AI chat feature)
Prompt best practices:Write a detailed description of what you want to create. The more specific you are, the better the results.Good prompt structure:❌ Too vague:Tips for better results: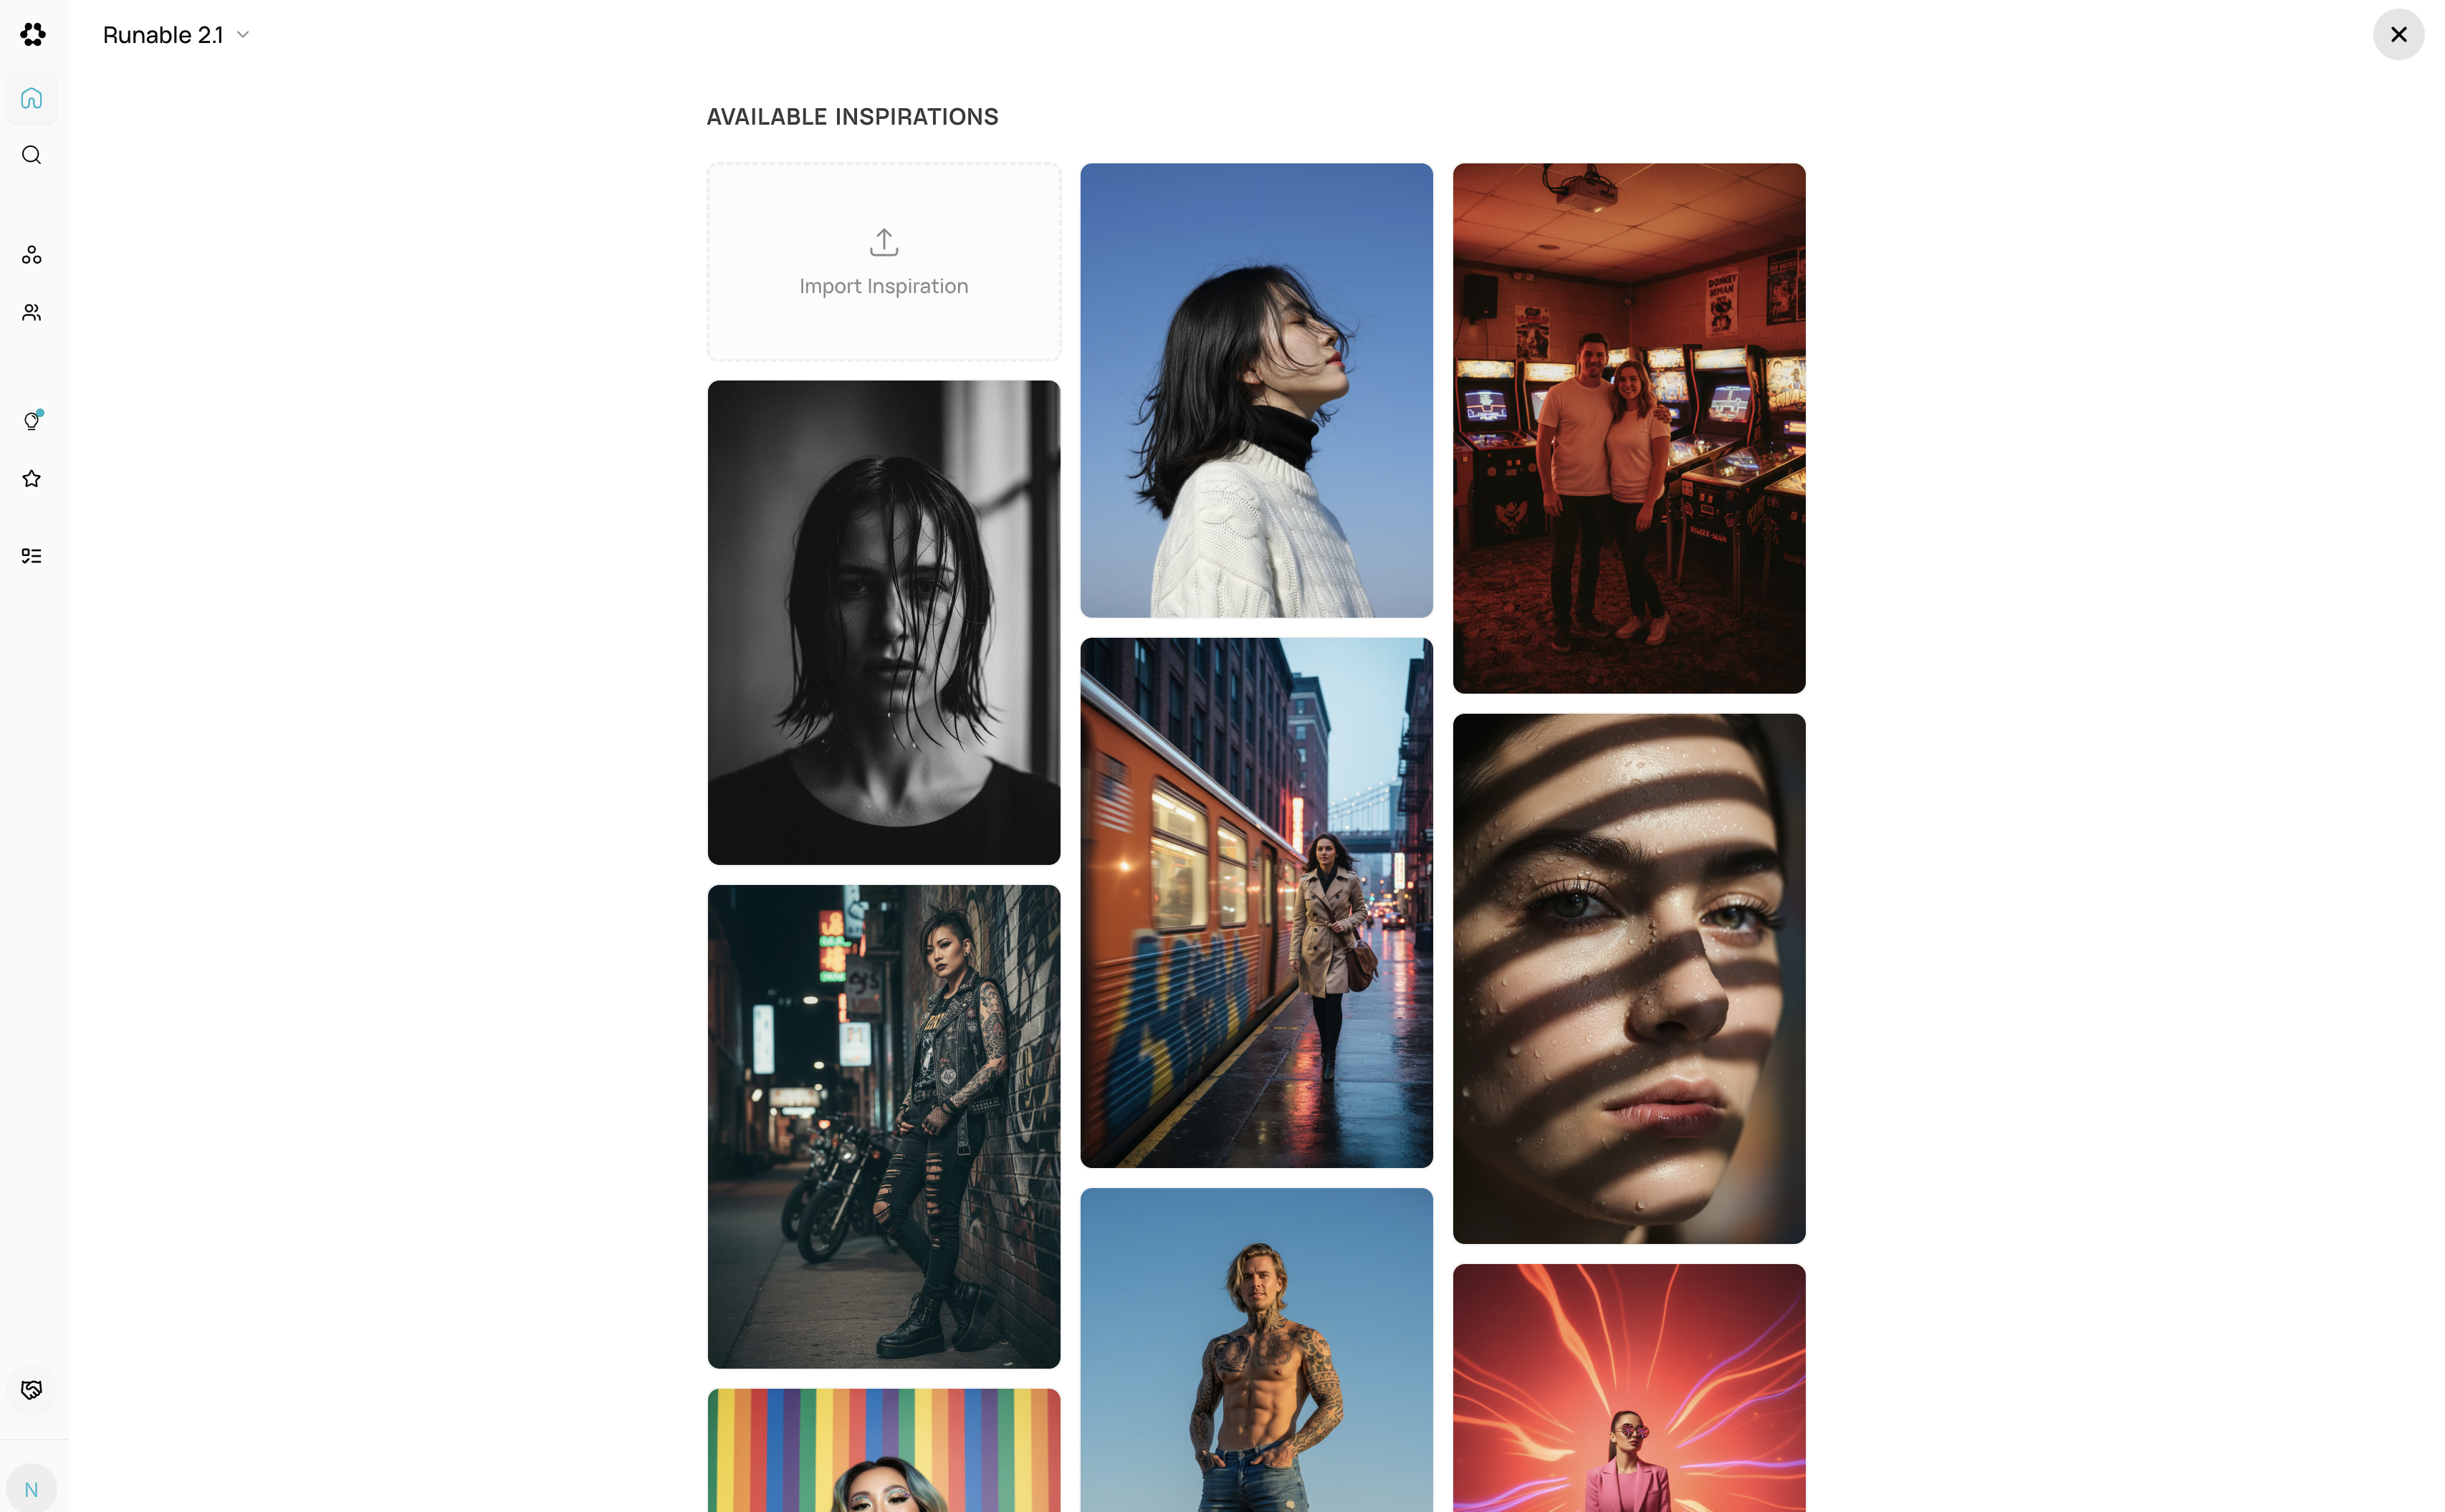
[Subject] + [Setting/Environment] + [Style/Mood] + [Details]Examples:✅ Good prompt:- Include specific details about lighting, colors, and atmosphere
- Mention artistic style if desired (photorealistic, watercolor, minimalist, etc.)
- Describe the composition and perspective
- Add context about mood or emotion
OR
Be Smart and use Design InspirationsGenerate and select a result
Generating images:
- Click the Generate button to start the process
- A loading indicator appears while the AI creates your image
- Generation typically takes 5-15 seconds depending on the model
Multiple variations:
You can generate multiple variations at once:
- Set the number of variations (1-4) in the generate sheet
- All variations are generated in parallel for faster results
- Each variation explores different interpretations of your prompt
Viewing results:
- Generated images appear on the canvas
- Use the timeline to navigate between multiple generated images
- Zoom and pan to inspect details
- Select your favorite by clicking on it
Refining images (optional):
After generation, you can refine your selected image:
- Select an image on the canvas
- Click the refinement options from the floating toolbar
- Choose from refinement operations:
- Refine: Enhance quality and details
- Upscale: Increase resolution (2x, 4x, 8x)
- Outpaint: Expand the image beyond its borders
- Virtual Try-On: Apply clothing or accessories (Nano Banana Pro only)
- Background Removal: Remove or replace backgrounds
- Background Replacement: Change the scene behind your subject
- The refined image is processed and added to your canvas
Edit or export
Once you have your image, you can:
- Apply additional refinements: Use the image refinement tools mentioned above
- Combine with other content: Add text, shapes, or other images to create compositions
- Select the image you want to export
- Click the download icon in the toolbar
- The image downloads as a PNG file with its original filename
- Select multiple images on the canvas (hold Shift or Ctrl)
- Click the download icon
- All images are packaged into a ZIP archive
- The ZIP file downloads as
download.zip
Tips for Best Results
- Start with Nano Banana: It offers the best balance of quality and cost for most use cases
- Use Inspiration images: Upload style references when you want consistent aesthetics
- Iterate with refinements: Don’t hesitate to upscale or refine your initial generation
- Generate variations: Create 2-3 variations to have options to choose from
- Be specific in prompts: Write a detailed description of what you want to create