> ## Documentation Index
> Fetch the complete documentation index at: https://docs.runable.com/llms.txt
> Use this file to discover all available pages before exploring further.
# Deploy & Go Live
> Publish your website to a live URL that anyone can access.
When your website is ready, deploying makes it publicly accessible. The site is hosted on a global edge network, so it loads fast from anywhere in the world.
## How to deploy
In the website header (above the preview panel), click the **Publish** button. A panel appears with deployment options.
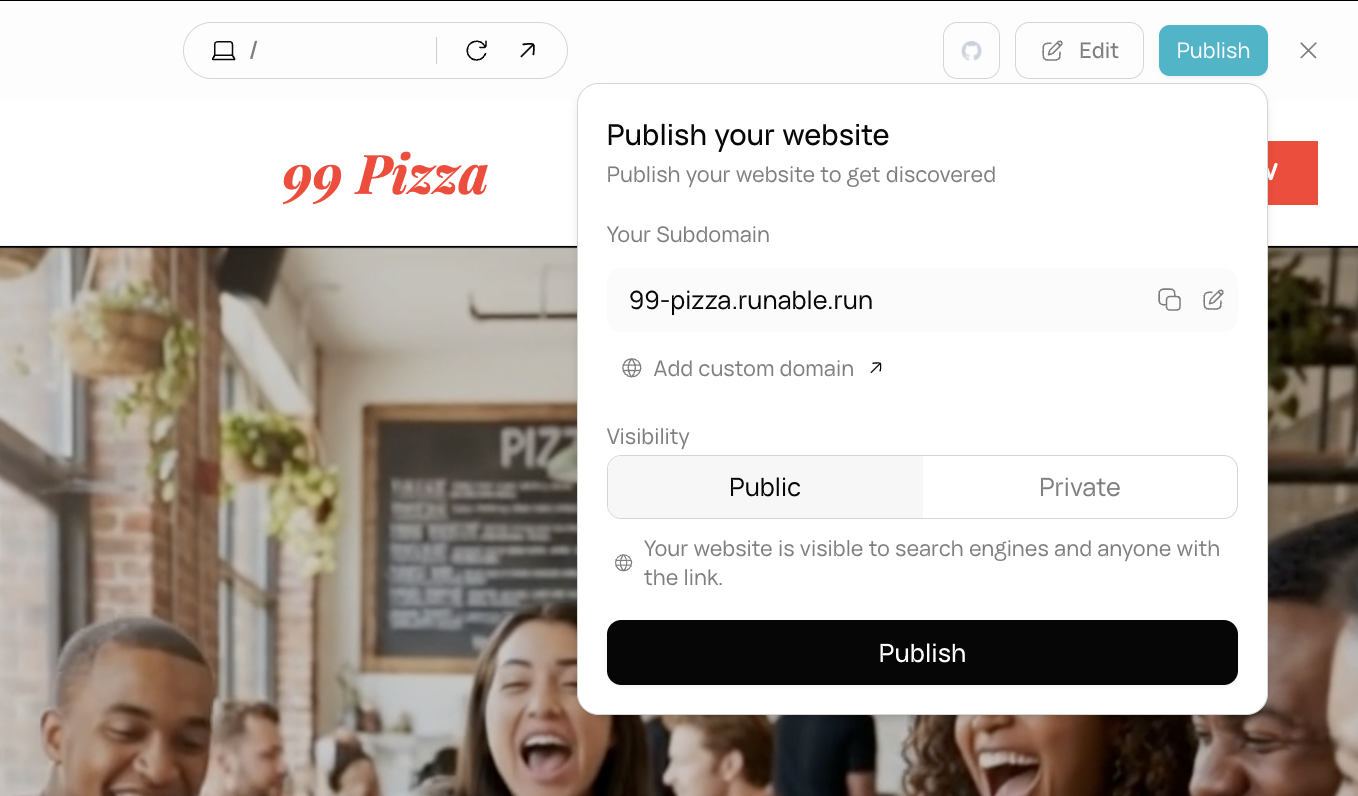 Your site gets a default subdomain like **bright-ocean-sparrow\.runable.site**. You can change this to something shorter or branded.
 Choose whether your site is **public** (anyone with the link can access it) or **private** (restricted access).
Click **Publish**. The system builds your site, runs database migrations if needed, and deploys it. This takes up to a few minutes.
Once deployed, your site is live at **[https://your-subdomain.runable.site](https://your-subdomain.runable.site)**.
Creating and deploying a website does not cost credits. Credits are only used if your website calls the AI gateway for AI-powered features.
## Re-publishing after changes
When you make changes to your website in the chat, the changes are visible in the live preview but not on the deployed site. To update the deployed site, click **Publish** again. Each publish creates a fresh build and deployment.
## Deployment URLs
| Environment | URL pattern |
| ----------------- | ------------------------------------------------------------------------------------------------------------------- |
| **Live site** | [https://your-subdomain.runable.site](https://your-subdomain.runable.site) |
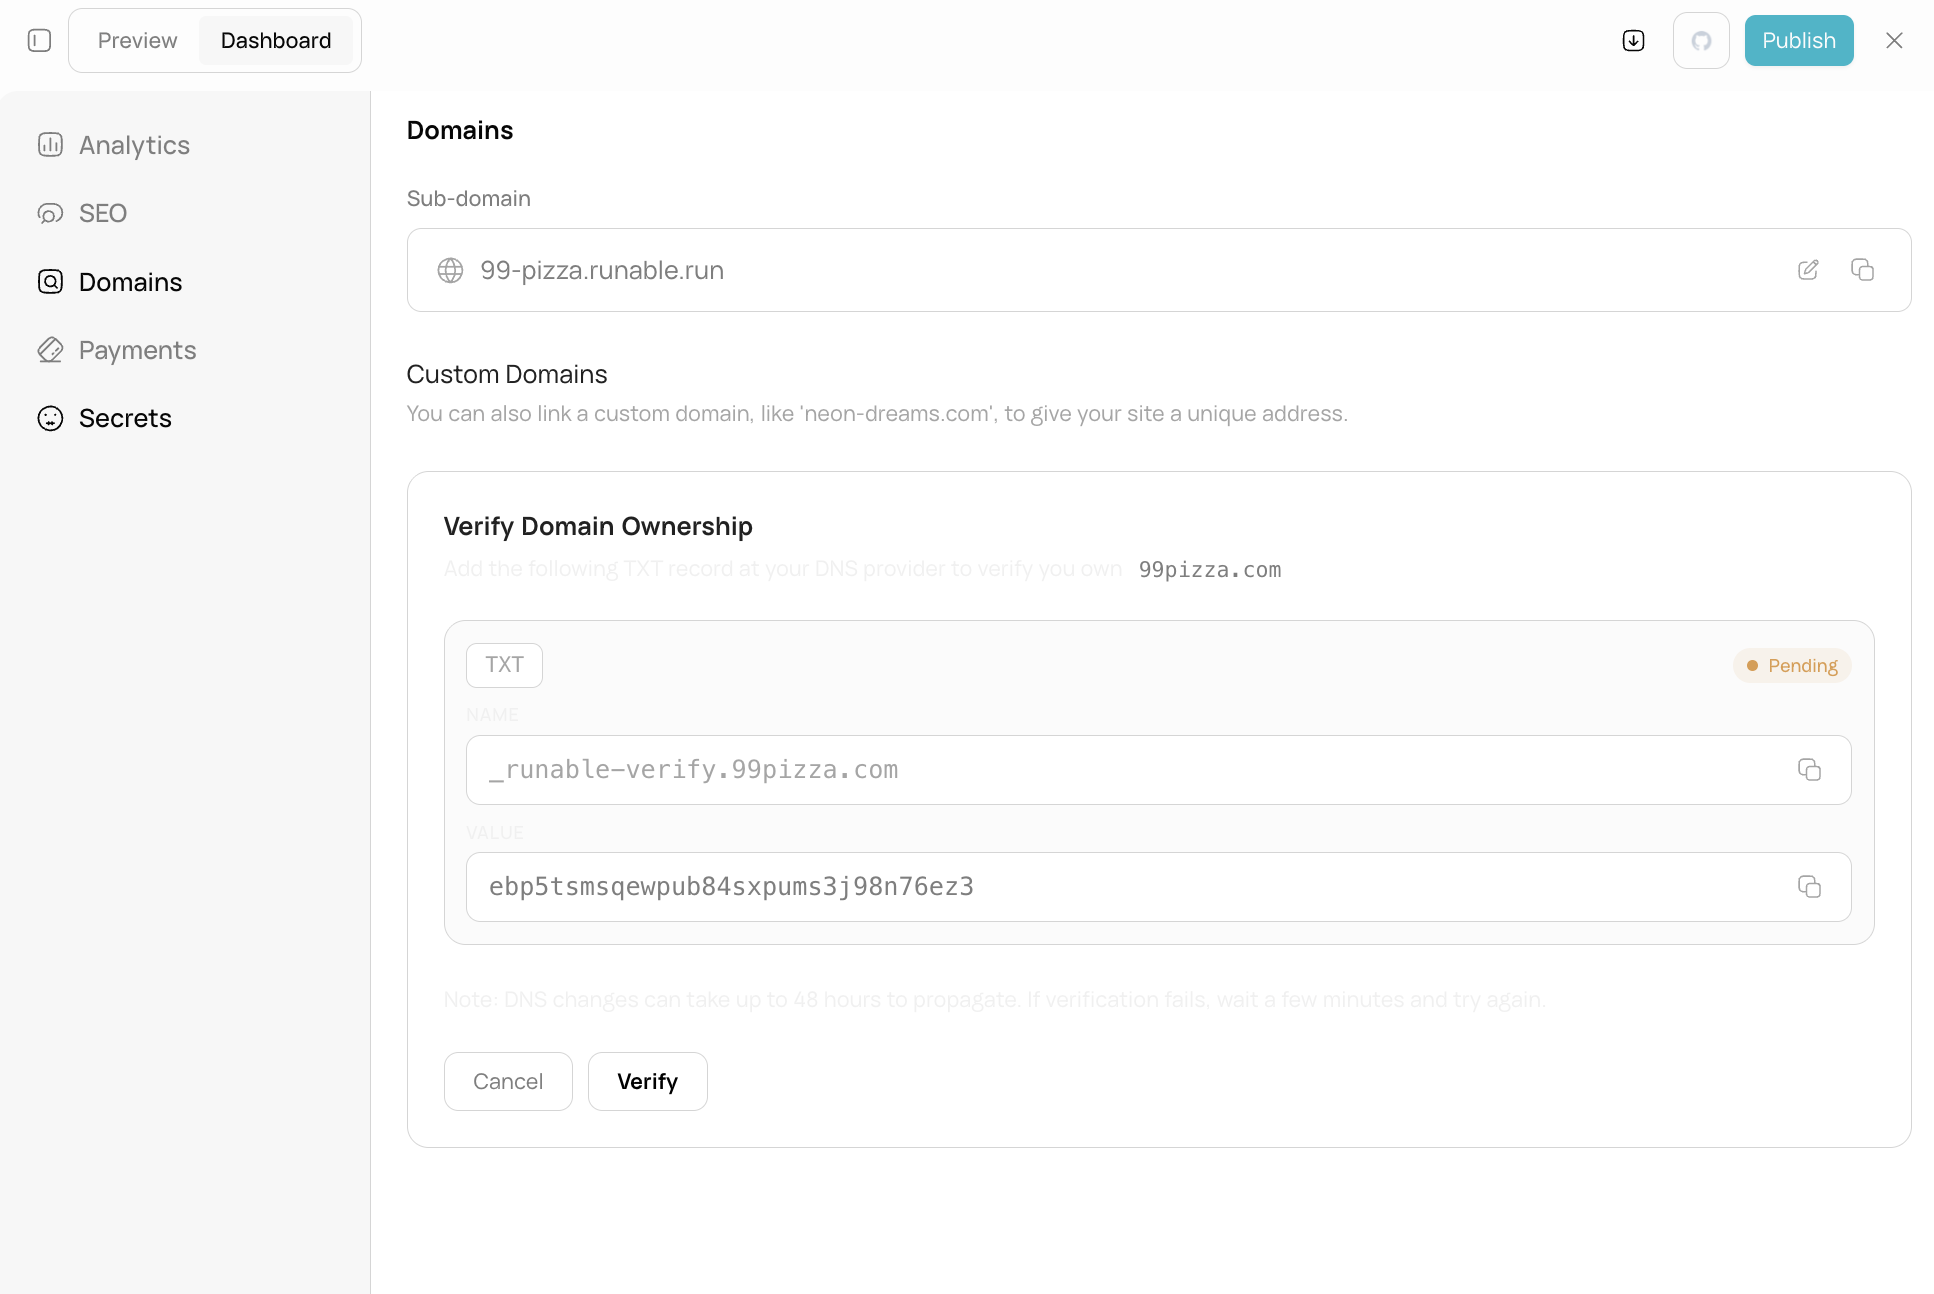
| **Custom domain** | [https://yourdomain.com](https://yourdomain.com) (see [Custom Domains](/build-websites/ai-websites/custom-domains)) |
## Download your code
Click the **Download ZIP** button in the website header to download the entire website source code. You can run it locally or host it elsewhere.
## Export to GitHub
Click the **GitHub** button in the website header to push your code to a GitHub repository. The agent generates SSH keys and creates the repository for you.
Choose whether your site is **public** (anyone with the link can access it) or **private** (restricted access).
Click **Publish**. The system builds your site, runs database migrations if needed, and deploys it. This takes up to a few minutes.
Once deployed, your site is live at **[https://your-subdomain.runable.site](https://your-subdomain.runable.site)**.
Creating and deploying a website does not cost credits. Credits are only used if your website calls the AI gateway for AI-powered features.
## Re-publishing after changes
When you make changes to your website in the chat, the changes are visible in the live preview but not on the deployed site. To update the deployed site, click **Publish** again. Each publish creates a fresh build and deployment.
## Deployment URLs
| Environment | URL pattern |
| ----------------- | ------------------------------------------------------------------------------------------------------------------- |
| **Live site** | [https://your-subdomain.runable.site](https://your-subdomain.runable.site) |
| **Custom domain** | [https://yourdomain.com](https://yourdomain.com) (see [Custom Domains](/build-websites/ai-websites/custom-domains)) |
## Download your code
Click the **Download ZIP** button in the website header to download the entire website source code. You can run it locally or host it elsewhere.
## Export to GitHub
Click the **GitHub** button in the website header to push your code to a GitHub repository. The agent generates SSH keys and creates the repository for you.
![Website header showing the GitHub button with a modal for entering the repository name]() ## What you cannot do
* You cannot deploy to a custom server or hosting provider directly. Websites deploy to the Runable infrastructure. Download the ZIP to self-host.
* You cannot set a custom build command. The build process is automated.
* You cannot roll back a deployment to a previous version from the dashboard. Use [Rollback](/core-concepts/branching-and-rollback) in the chat to return to a previous state, then re-publish.
## Next steps
Connect your own domain to your deployed website.
Learn how the built-in SQLite database works.
## What you cannot do
* You cannot deploy to a custom server or hosting provider directly. Websites deploy to the Runable infrastructure. Download the ZIP to self-host.
* You cannot set a custom build command. The build process is automated.
* You cannot roll back a deployment to a previous version from the dashboard. Use [Rollback](/core-concepts/branching-and-rollback) in the chat to return to a previous state, then re-publish.
## Next steps
Connect your own domain to your deployed website.
Learn how the built-in SQLite database works.